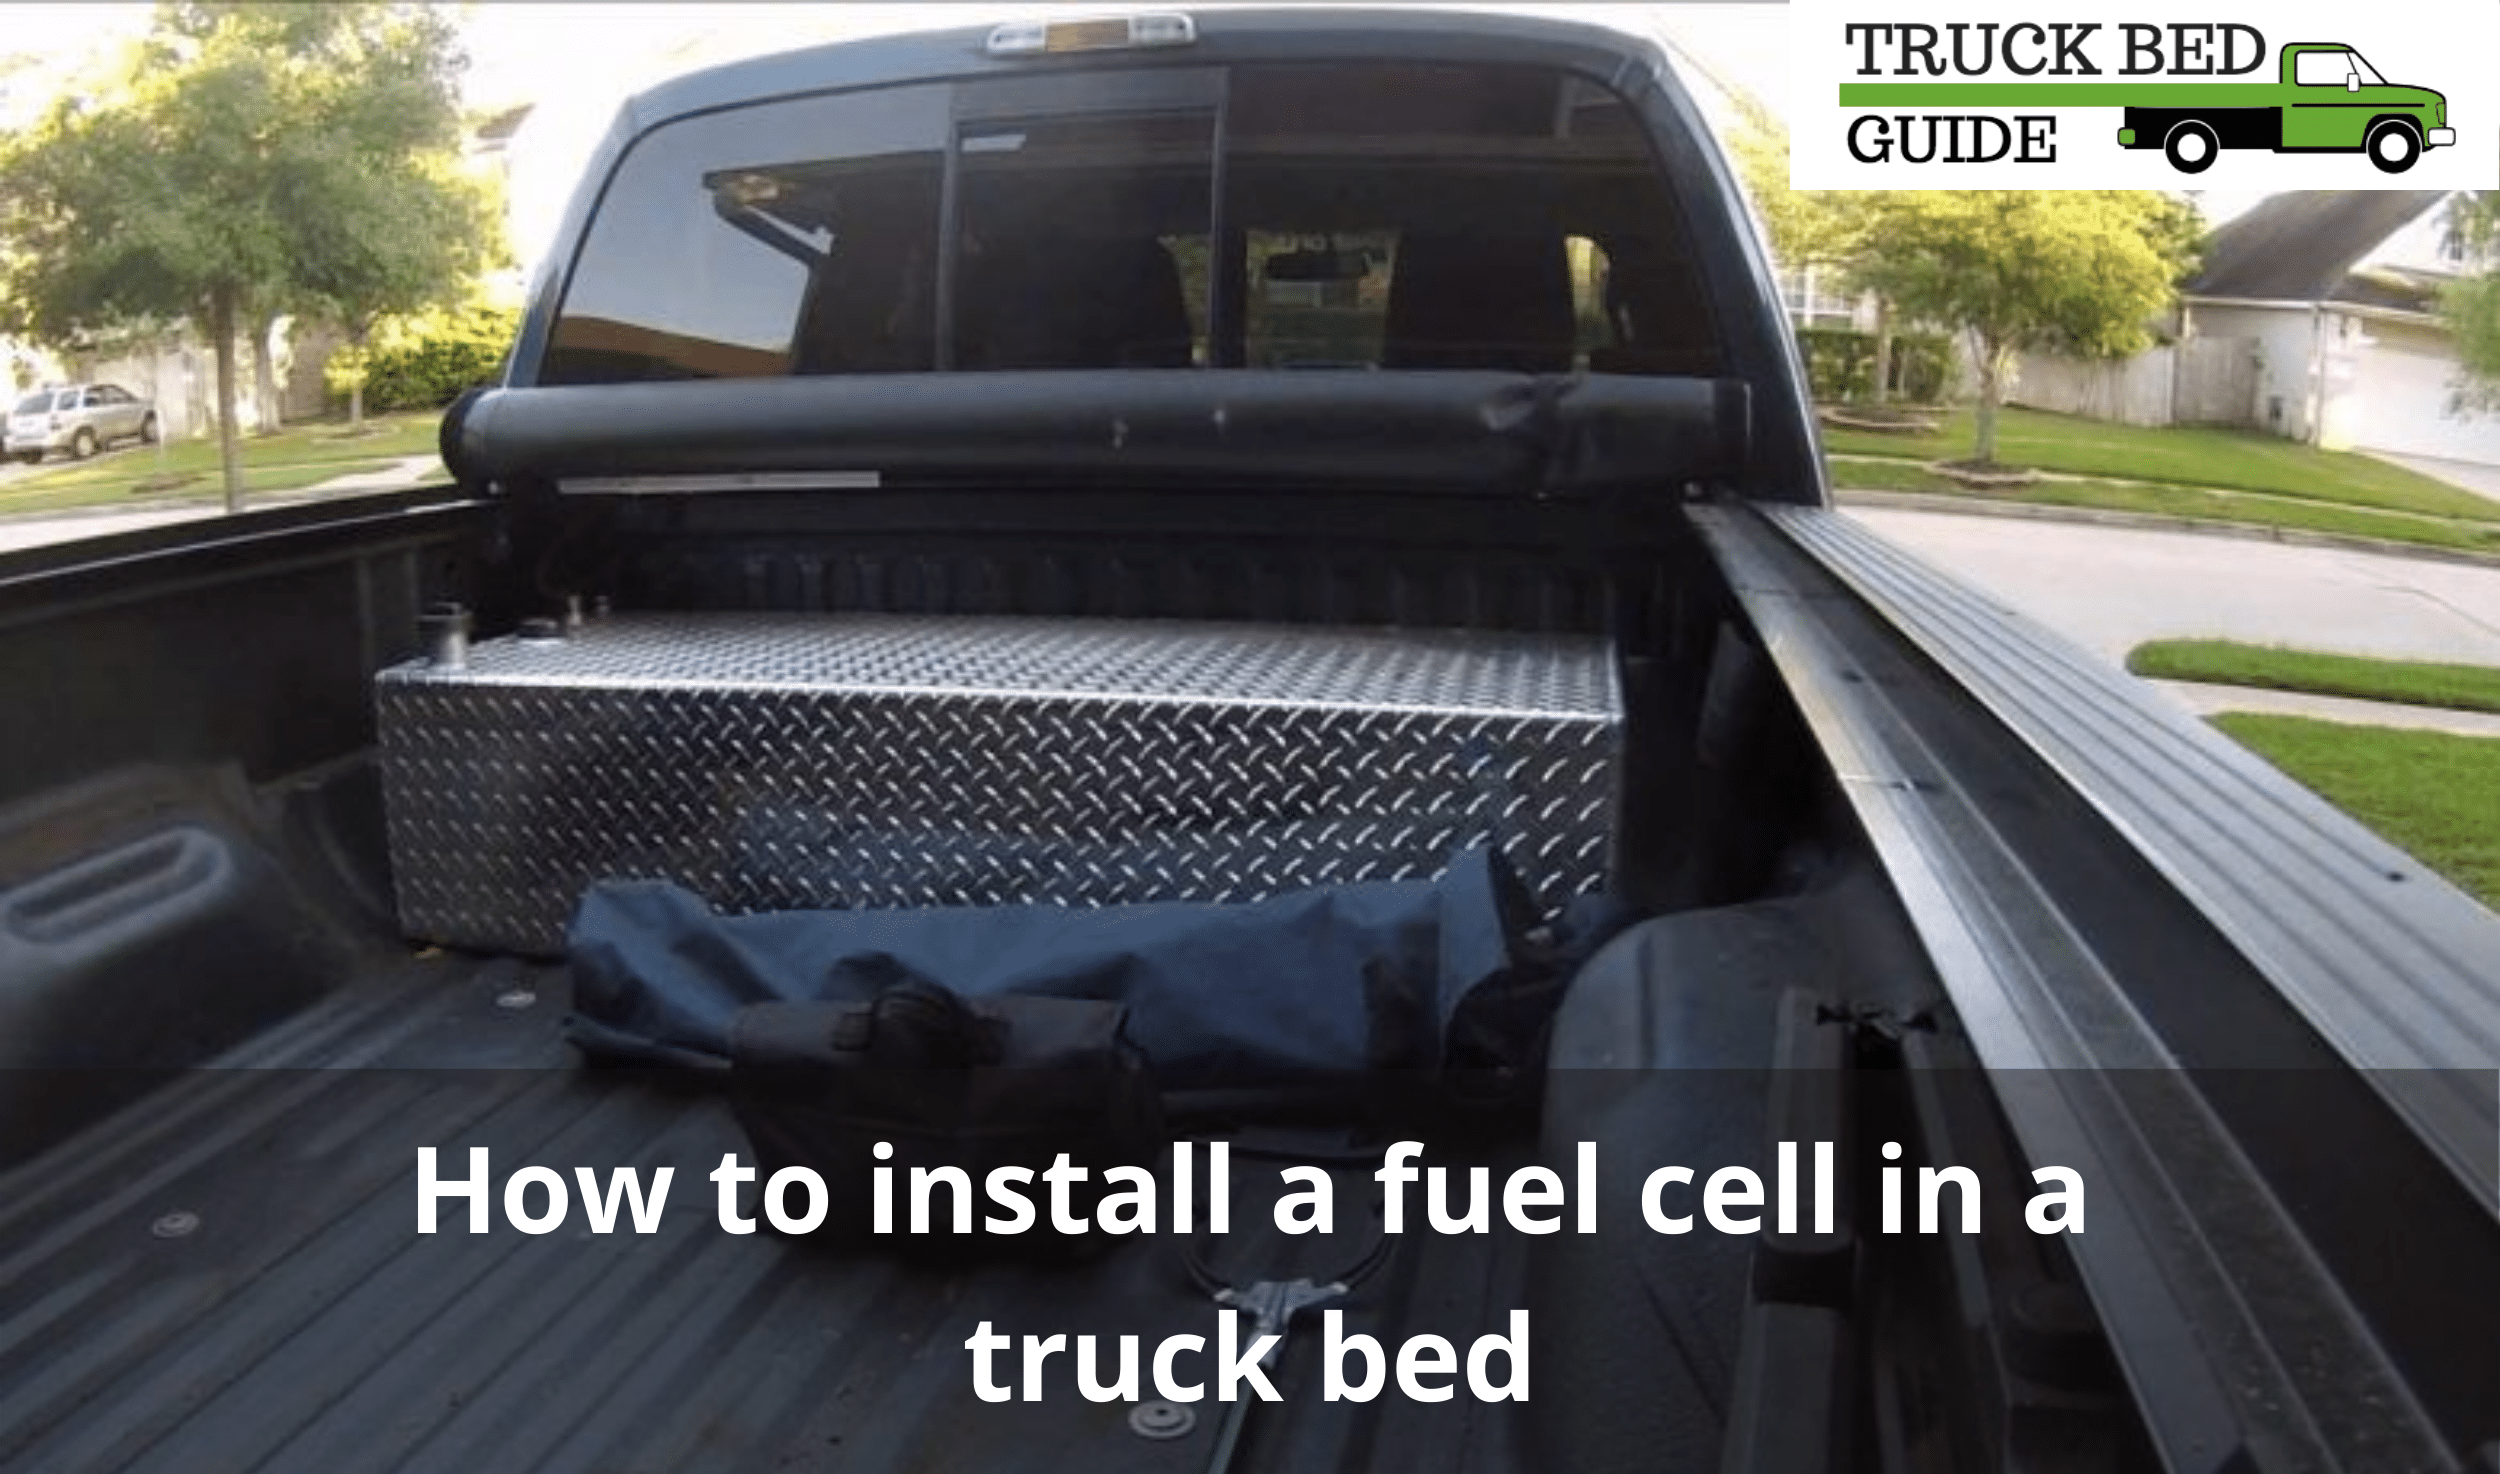
How to Install a Fuel Cell in a Truck Bed? Well, you can install a fuel cell in a truck bed by selecting a suitable location, measuring the size, drilling holes, fastening it with nuts and bolts, attaching the mounting brackets, and finally connecting it to the engine.
We recommend you to measure the size of your truck and the fuel tank before starting this process.
Table of Contents
Steps to install a fuel cell in a truck bed
First of all, you have to measure the size and try to choose the length less than that of the available space. You can choose from different brands that provide top quality products. Now, let us know the tools that you require during the entire process so that you can arrange them before installation.
Required Tools:
- Measuring tape
- Marker
- Drill machine
- Nuts
- Bolts
- Plier
- Screwdriver
- Cutter
Purchase the good quality fuel cell
The most important thing is to arrange all the tools before starting the process. The type of product you choose for your truck decides its longevity and shelf-life. Choose the products that best suits your truck depending upon the available space in the pickup.
Choose the product that should not leak in extreme weather conditions like hot and cold weather. If you purchase the lower quality product, its shelf- life will be less than its regular time. Before going for one such product, understand what exactly your vehicle needs.
The fuel cells are available in different capacities that you can add the required fuel to them. The average tank measures around 50 liters. However, you may get bigger or smaller than it.
There will be a significant variation in the prices of the fuel cell as the brand and size increase. However, you have to set a budget and choose the brand accordingly. You can expect to spend around $60 during this process. However, the price may increase up to $80, and you can also get this product at an affordable price of just $40.
Decide the location
The next step is to decide the location for the installation process by taking all the safety measures. You may face difficulty if you have not chosen a right place by considering all the factors.
You need to check the length of the pipe that is coming from the engine to the tank. You can replace the pipe with it because different tanks will have different types of nozzles for their connection.
You can arrange this pipe from the same place as that of the main component. The position will matter a lot because you have to perform all other mechanical activities according to that particular position.
Then check the opening of the tank; it should face outside. You should not skip this because it is used to refill the tank later on. Choose the position in which its cover comes on the same side as that of the battery and other parts t so that you can make its connection with them.
Leave some space for the cardboard that will place while fixing it permanently there. Do not forget to check the thickness of the board before deciding its position.
Measure the size of fuel cell
To do this step, place a measuring tape on the component to record its dimensions. After you finish up measuring the dimensions, note it on a small piece of paper.
You should measure the size of the cardboard that you have arranged for its fixation. Now add the length of the product and the thickness of the cardboard. You can also add a GPS tracking device at this location, which will make your pickup theft-proof.
Use any supporting material for its better functioning. Make sure you have gone for all options and then decide after you have complete understanding.
You have to learn that the products you are using should provide you more useful life and better efficiency. Do this entire process with utmost care.
Drill holes
After you check that the position to drill holes is decided, you are ready to go for drilling. You should also set the cardboard there.
Now, take the pointer or use of dark coloured marker that are different from the cardboard color to point out the drill locations.
You can now mark the points, where you want to fix the nuts and bolts. Now mark on all the sides by making sure that it will balance with the nuts. You can use the drill bits in the size of the drill machine as you want to get the holes’ depth.
Make sure you have checked that it is not leaking from that position. However, you can check all the sides once the process is completed.
We recommend you to use the drill bits of one to two inches long by measuring its thickness and the cardboard sheet.
The next step would be to fix the bits properly and not break when you push them towards the inner side. You should follow the dots or points that you have marked with the pointer.
Those points will help you find the exact point while drilling the holes in it. You can also take the help of a friend to fix this issue because he can grip the material while using the drill machine.
If you are perfectly trained to use the drill machine, you should use it; else you can take the help of a professional for this step. You can hire any carpenter or welder for this purpose that will help you in this regard. Use the welding process for the fixation, as it is more useful than drilling the holes and all that.
Fix nuts and bolts
After you drill all the holes and brackets, you can now start adding the nuts and bolts. You should do all the necessary arrangements for fixing the nuts and bolts. You have to choose the same nuts and bolts that exactly fit the holes you have done in it.
You should also get different types of nuts and bolts depending on its depth. Moreover, you have to check the position that may fix properly there.
Attach mounting brackets
You can also follow this step after attaching the cardboard if you think it is not strong. You need four mounting brackets that you have to mount at all the edges of the cardboard. Doing so will provide support to the product not to shatter in case of heavy wind pressure.
You can use the best possible combination that you have to make by adding any supporting material there. You should buy the brackets by noting the proper size of the product that you are using. It will help you to do this process easily within a short period of time.
Connect the fuel pipe to the engine
As you complete the fixation process, you can now connect it with the engine of your truck. Remember, you have to replace the pipe to transmit it from one end to another properly.
Now you can connect it to the engine first. Do not disconnect it from there during this process. Make sure you keep it under the vehicle’s body, where you can make its way to the newly attached tank.
The next step would be to replace the nozzle of the tank, which will facilitate the flow from one end to another. Always remember that all the process will be destroyed if the nozzle does not allow it to go inside. You should not disconnect the wires; else, it will result in a truck alarm going off frequently.
Do not stretch the pipe as stretching the pipe will break it when its elasticity ends. Instead, you can use some extra length so that it may survive in case of extreme weather conditions.
You should follow all these safety tips to enjoy the hassle-free journey.
Conclusion
After you finished up the installation, check the performance fuel cell. Check all the functions of the refilling, nozzle and all other things also. You should also take care to check the leaking by adding any other liquid in it and remove it after checking. You should drain the air tanks regularly to prevent any issues.
Remember that the products you are using should be long-lasting and free from all issues. Note the problems in the test run so that you can fix them accordingly. You can make any changes later on if it is required. Always look for the best option that suits your truck a lot.


