Sign in
Join
Trucks
Tips, Tricks & Trends
Vehicle Reviews
Sign in
Welcome!
Log into your account
your username
your password
Forgot your password?
Create an account
Privacy Policy
Sign up
Welcome!
Register for an account
your email
your username
A password will be e-mailed to you.
Privacy Policy
Password recovery
Recover your password
your email
Search
TruckBed
My account
Get into your account.
Login
Register
TruckBed
Premium Content
Read our exclusive articles
Facebook
Instagram
Twitter
Trucks
Tips, Tricks & Trends
Vehicle Reviews
TruckBed
Search
TruckBed
Premium Content
Read our exclusive articles
Facebook
Instagram
Twitter
Trucks
Tips, Tricks & Trends
Vehicle Reviews
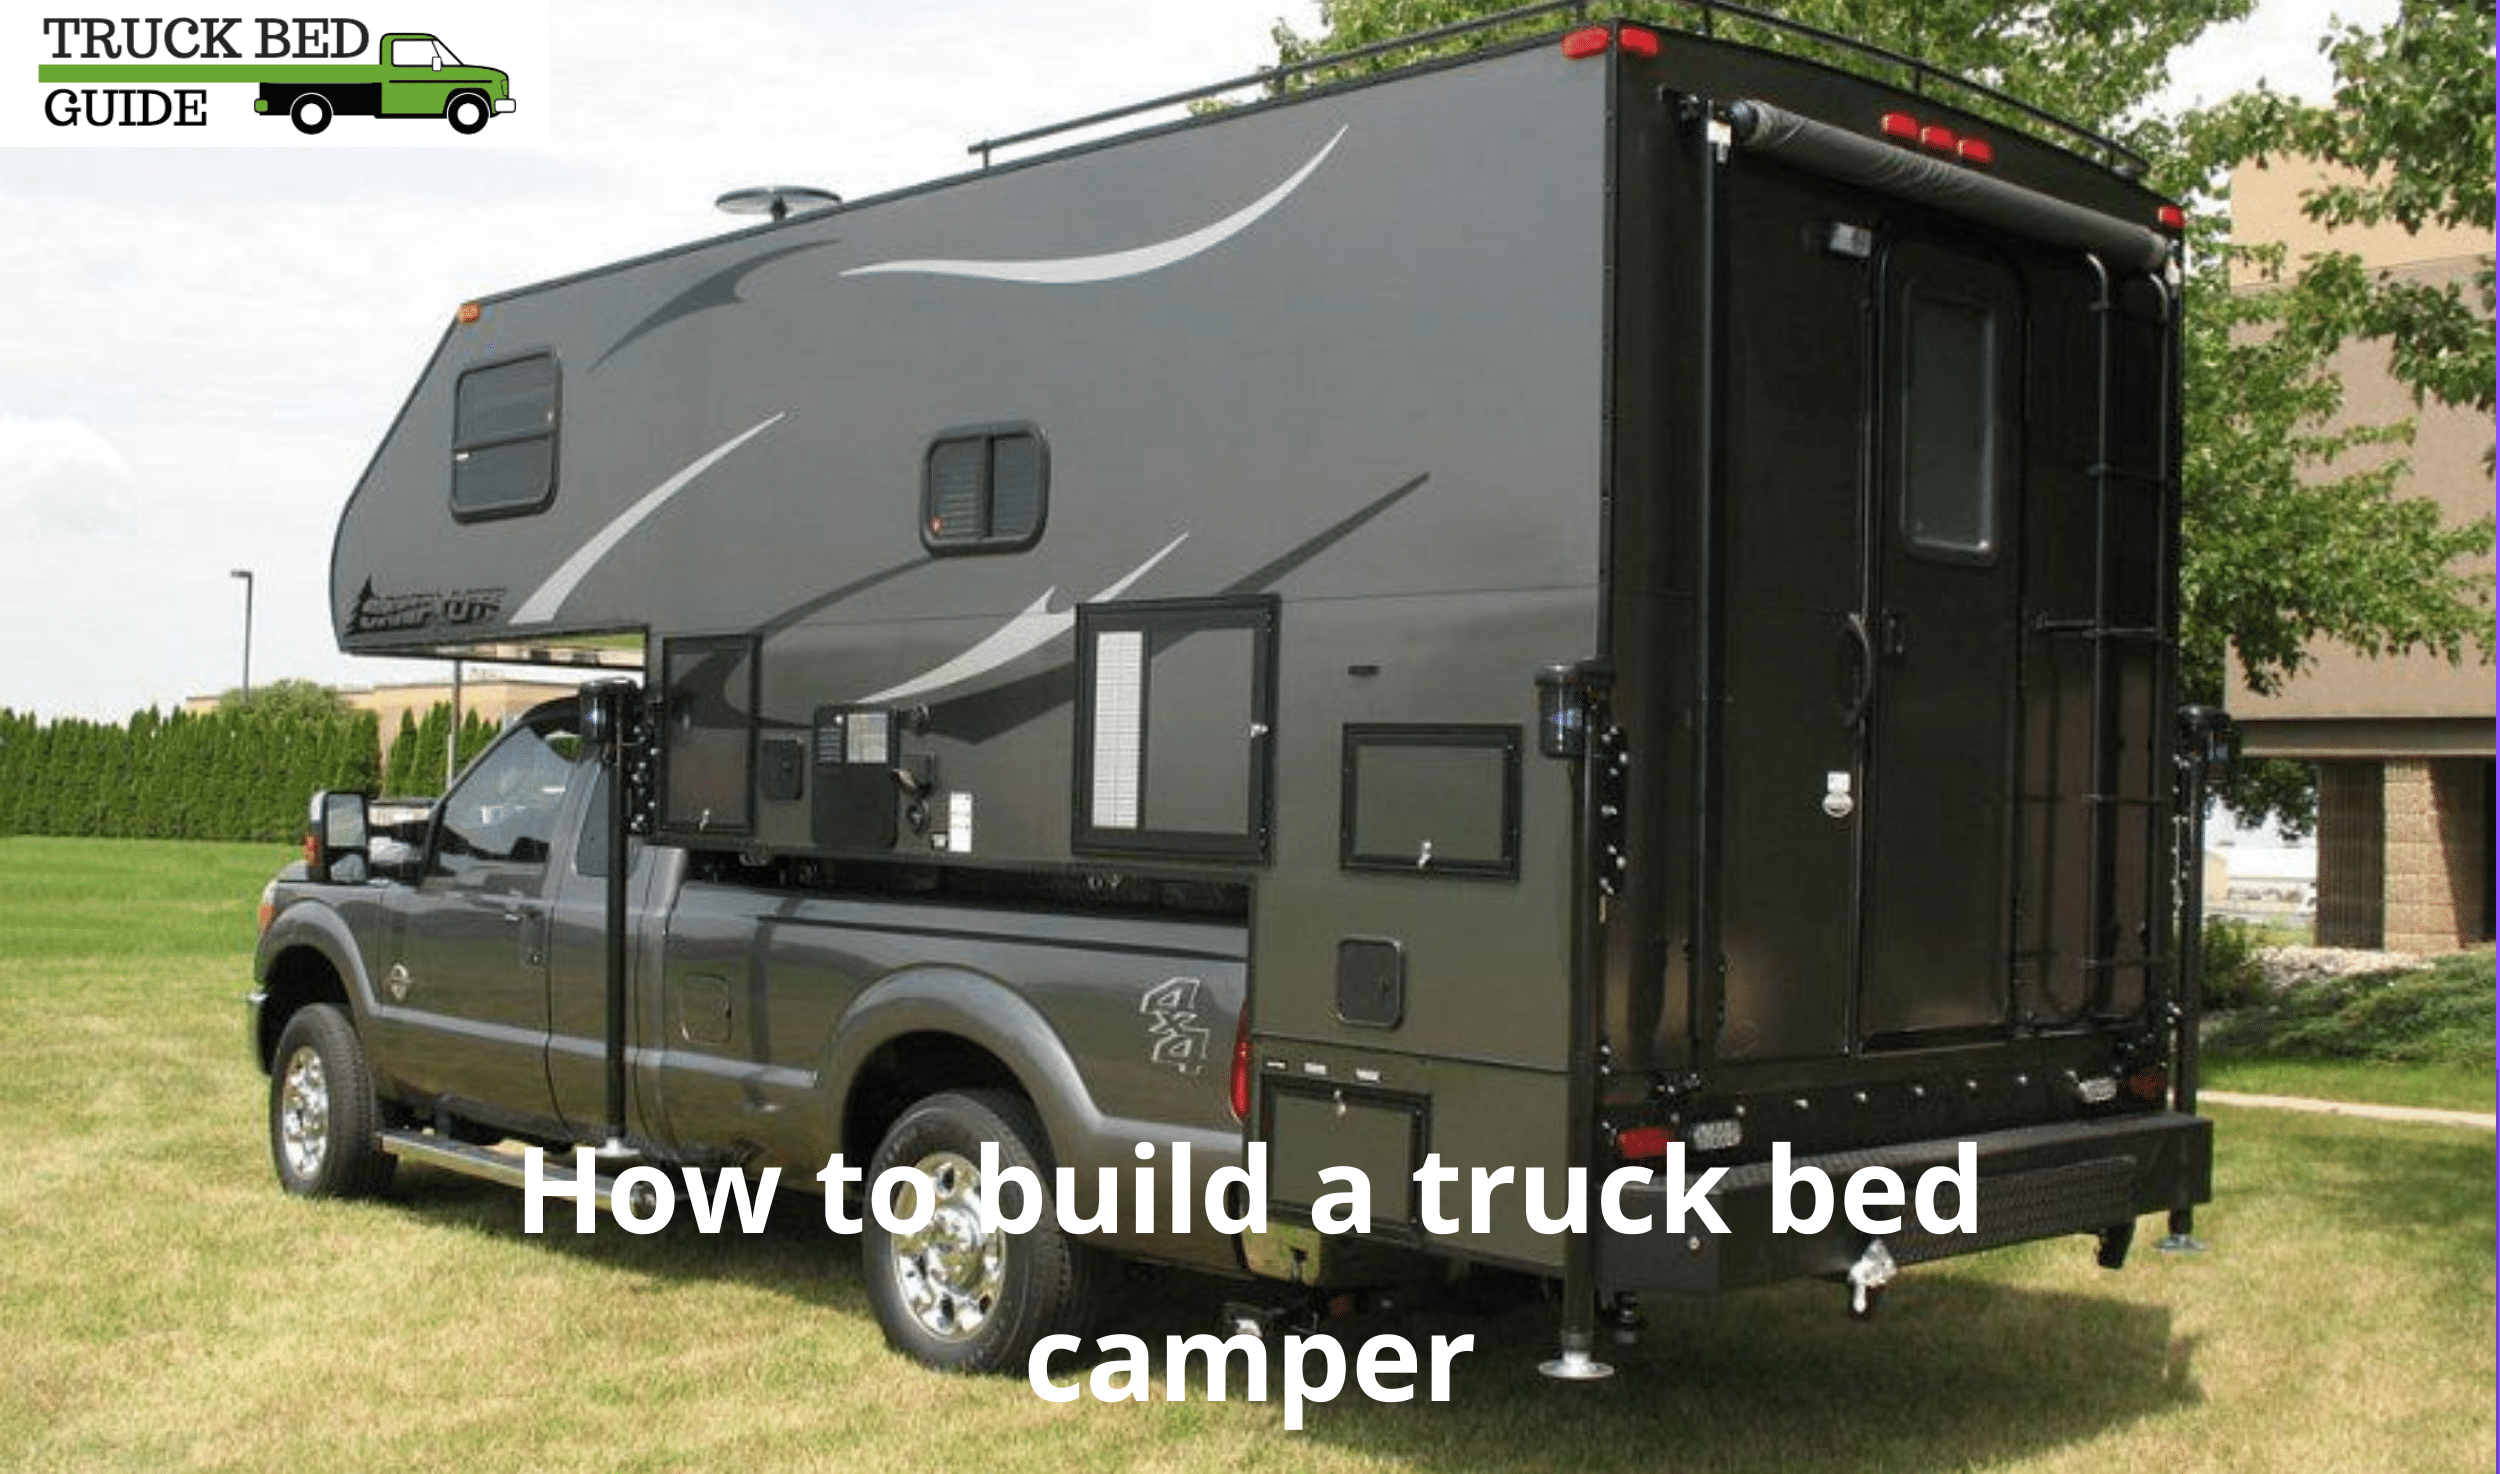
How to build a truck bed camper