You can easily build sturdy truck bed bike mounts using materials from your local hardware store. Grab some PVC pipes, elbows, and tees for a lightweight, customizable rack that’s both cost-effective and easy to assemble. Use ratchet straps to secure your bikes during transport, ensuring they stay stable. Plus, with proper maintenance, your DIY rack can last for multiple seasons. Stick around to discover detailed assembly tips and additional options for different truck bed sizes!
Key Takeaways
- Use 3/4″ PVC pipes and fittings to create a sturdy and lightweight bike mount for your truck bed.
- Customize the design by measuring your truck bed dimensions for a perfect fit.
- Incorporate ratchet straps to securely hold bikes in place during transport.
- Assemble the mount using PVC glue for durability and stability against weather conditions.
- Regularly inspect and maintain your DIY rack to ensure long-lasting performance.

StarONE Truck Ladder Rack – Adjustable Height 19"-25" Aluminum Truck Bed Rack Fit for Tacoma/Gladiator with Bed Rails,Fits Ladder,Lumber,Pipes,Kayak,Surfboard,Bike Rack & Rooftop Tent,No Drilling
One Rack, Many Loads: The ladder rack for truck uses a quick-adjust button for 4-level height (19 –…
As an affiliate, we earn on qualifying purchases.
As an affiliate, we earn on qualifying purchases.
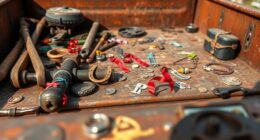
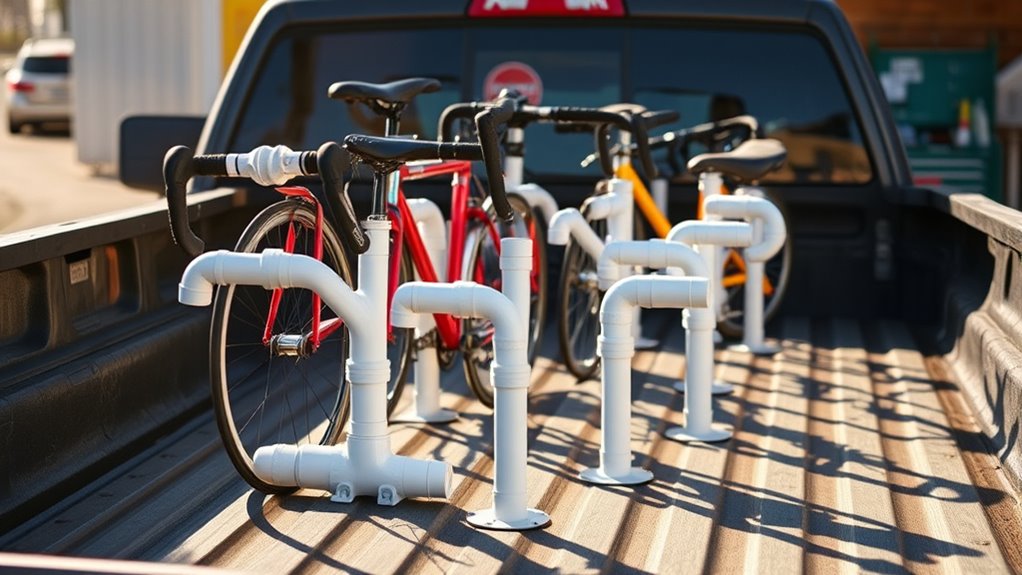
Materials Needed for a DIY Bike Rack

When you’re ready to build a DIY bike rack for your truck bed, you’ll need some essential materials to get started. First, grab four 10-foot lengths of 3/4″ PVC pipe, which will form the main structure. You’ll also need six 3/4″ PVC elbows and eighteen 3/4″ PVC tees to create connection joints. These components typically cost around $25 for a rack that holds three bikes. To guarantee sturdy joints, have PVC glue or a strong adhesive like “Rain-R-Shine” on hand. finally, a chop saw will be necessary for cutting your pipes to the right lengths. With these materials, you’re all set to begin your project and create a functional bike rack tailored to your truck bed.

INNO RT201 Truck Bed Bike Rack – Bike Mount for Standard Pickup Truck
HASSLE-FREE – Hardware is included and there is no drilling required.
As an affiliate, we earn on qualifying purchases.
As an affiliate, we earn on qualifying purchases.
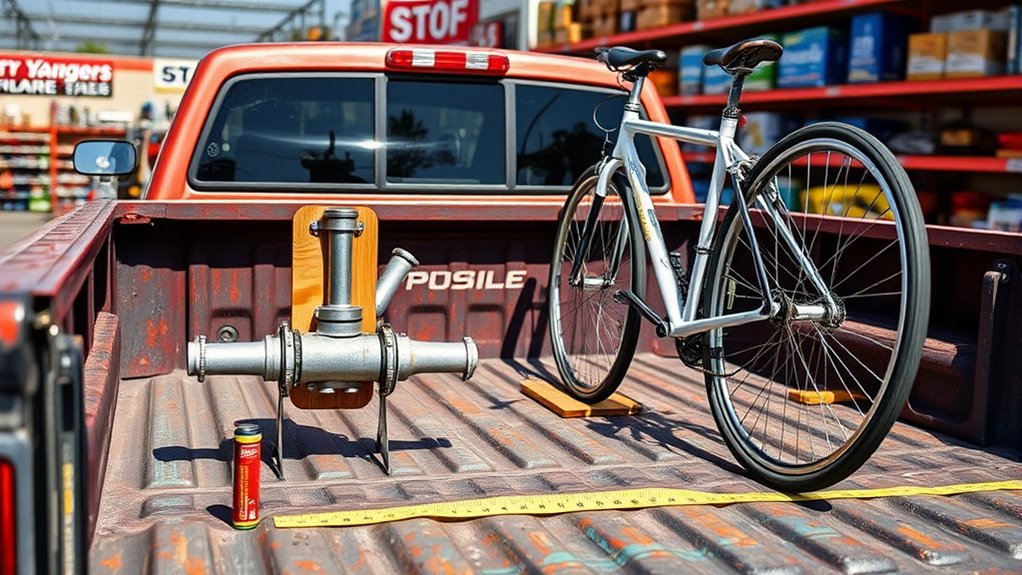
Step-by-Step Assembly Process
To get started on your DIY bike rack, you’ll need a few essential tools and materials, including PVC pipes and connectors. Follow these assembly instructions to make certain everything fits together perfectly for your truck bed. With the right preparation, you’ll have your bike mount ready in no time! Additionally, consider the impact on perceived sharpness of your setup by ensuring proper alignment and stability. Using smart home technology can enhance your outdoor experience by allowing for automated lighting or security while you enjoy your biking adventures. Incorporating smart appliances can also streamline your post-ride routines, making it easier to clean and maintain your gear. A well-organized clutter-light home can also provide a more enjoyable and efficient environment for your biking gear and accessories. Furthermore, incorporating outdoor ovens can extend your backyard activities, allowing for meals after a long ride.
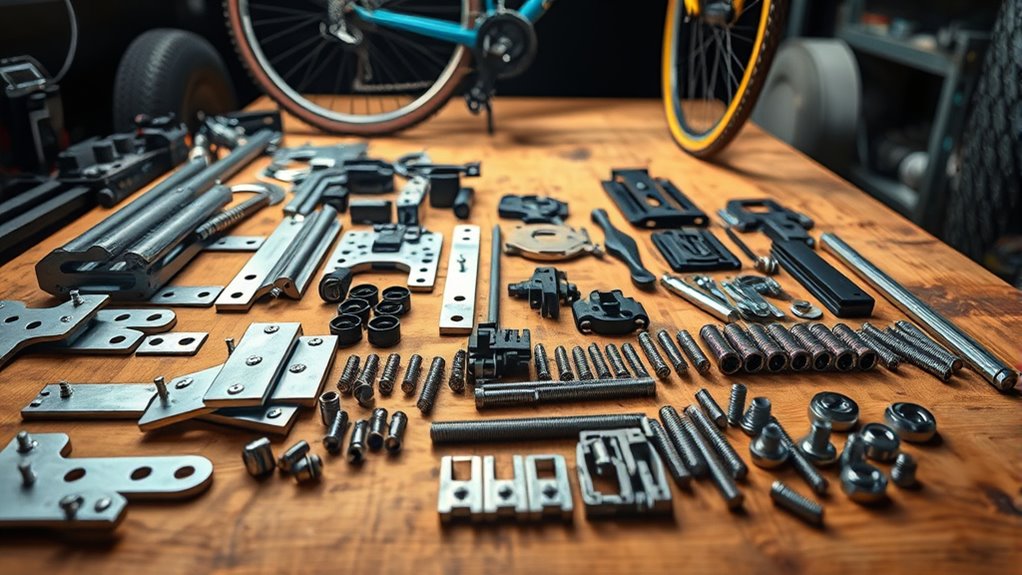
Required Tools and Materials
Before you start assembling your truck bed bike mount, gather the necessary tools and materials to guarantee a smooth process. You’ll need four 10-foot 3/4″ PVC pipes, six 3/4″ PVC elbows, and eighteen 3/4″ PVC tees. A chop saw is essential for cutting the pipes to the required lengths, while PVC glue or “Rain-R-Shine” adhesive will bond your joints after dry-fitting. Don’t forget a rubber mallet to help with inserting the pipes into tight-fitting connectors. Additionally, using airless paint sprayers can provide a smooth finish if you’re planning to paint the mount after assembly. You might also want some ratchet straps to secure your bikes once the mount is complete. With these tools and materials, you’ll be well-prepared to create a sturdy bike mount for your truck bed. Remember, using proper tools can make your DIY projects more efficient and enjoyable.
Assembly Instructions Overview
How do you transform your materials into a functional bike rack for your truck bed? Start by cutting your four 10-foot PVC pipes into specified lengths using a chop saw. Assemble the rack frame upside-down, ensuring proper alignment. Insert ten-inch pipe segments into the tee connectors to create support feet. Position the horizontal pieces to confirm they fit your truck bed before applying PVC glue for a permanent bond. Use a rubber mallet to ensure snug connections. Additionally, proper ventilation considerations should be taken into account when storing your bike rack to prevent any damage. This is similar to how nanotechnology advancements can play a role in improving materials used in various applications. Furthermore, consider incorporating smart grill apps into your outdoor setup for enhanced cooking precision. A well-designed bike rack can help you maximize space in your truck bed while ensuring your bikes are secure. Finally, secure your bikes with ratchet straps to prevent movement during transit. This design allows for disassembly, making it easy to transport or store. Enjoy a lightweight, durable bike rack that fits your needs without breaking the bank! Additionally, a well-designed bike rack can enhance your cycling adventures by providing a secure way to transport your bikes.
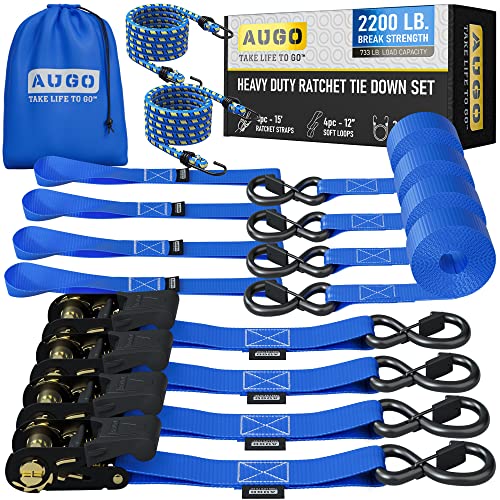
AUGO Ratchet Straps Heavy Duty 4 Pack -15 FT – 2200 LB Break Strength – with Safety Lock S Hooks – Cargo Straps for Moving, Appliances, Motorcycle – Soft Loop Tie Down Straps
TIE DOWN ANYTHING WITH CONFIDENCE | Pack of [4] 15 Ft Ratchet Strap Tie Downs Provides Durable, Dependable…
As an affiliate, we earn on qualifying purchases.
As an affiliate, we earn on qualifying purchases.
Advantages of Using PVC for Bike Racks
While many materials are available for bike racks, using PVC offers unique advantages that make it an ideal choice for DIY enthusiasts. First off, PVC pipes resist rust and corrosion, ensuring your rack lasts through various weather conditions. You’ll also appreciate its lightweight nature, making it easy to remove and store. Plus, with no need for painting or protective coatings, maintenance is a breeze. The durability of PVC means it can withstand multiple seasons of use without showing wear. Additionally, assembling a PVC bike rack is cost-effective, often totaling around $25 for a three-bike setup. This affordability allows you to customize your rack to fit your truck bed perfectly, ensuring you get exactly what you need without breaking the bank.
INNO RT201 Truck Bed Bike Rack – Bike Mount for Standard Pickup Truck
HASSLE-FREE – Hardware is included and there is no drilling required.
As an affiliate, we earn on qualifying purchases.
As an affiliate, we earn on qualifying purchases.
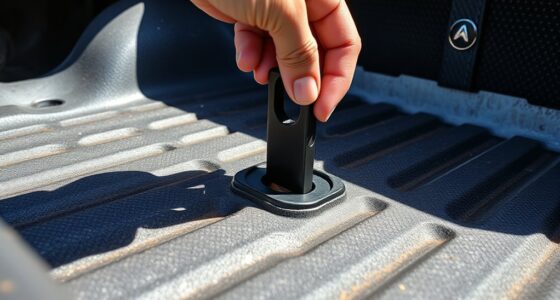
Securing Your Bikes During Transport

When you’re transporting your bikes, securing them properly is key to preventing damage. Using ratchet straps not only stabilizes your bikes but also allows for different orientation options to fit your truck bed perfectly. Let’s explore the best techniques to keep your bikes safe and secure during transit. Additionally, consider utilizing essential oils like peppermint oil for its refreshing scent, which can help alleviate feelings of nausea if you’re prone to motion sickness while driving. Remember to monitor for signs of infection if you’re also transporting any body jewelry, as improper care can lead to complications. Incorporating butter tools can also provide added stability by allowing you to create a custom mounting solution for your bike frames. Proper sound design techniques can contribute to a safer transport experience by ensuring that any audio signals from the road do not distract you while driving. Proper safety measures during transport can significantly reduce the risk of damage and ensure a smooth journey.
Ratchet Strap Techniques
Why risk damage to your bikes during transport when effective ratchet strap techniques can keep them secure? Start by wrapping the ratchet straps around the bike frames, ensuring they’re tight but not overly constrictive. Position the straps at strategic points, like the top tube and seat post, to minimize any movement during transit. Make sure both ends of the straps are anchored to your truck bed or bike rack. After ratcheting them down, give each bike a gentle shake to check for stability—if they wiggle, tighten the straps further. If you’re transporting multiple bikes, stagger them to avoid contact. Properly securing your bikes with ratchet straps not only prevents damage but also guarantees a smooth and worry-free ride on the road. Additionally, using noise-reduction technology in your bike transport setup can further enhance stability and ensure a quieter journey. Consistent checking of the straps can prevent slippage, much like how glycolic acid aids in exfoliation, promoting overall health and stability. Remember, just as Keke Palmer’s versatility in her Hollywood journey showcases the importance of adaptability, being flexible with your securing methods can lead to a successful transport experience. Furthermore, employing encryption solutions for your digital communication can help keep your sensitive information safe while you’re on the move. Incorporating AI cybersecurity jobs into your understanding of digital safety can also enhance your overall transport security.
Stability During Transit
To guarantee your bikes remain stable during transport, it’s crucial to use effective securing methods that minimize movement. Ratchet straps are a popular choice, wrapping tightly around your bike frames to keep them stationary. This prevents any shifting while driving, even at freeway speeds. Additionally, securing your bikes eliminates contact between the bicycles and the truck bed, protecting both during transit. Investing in high-quality materials can further enhance the durability of your securing methods. Proper maintenance techniques for your straps will ensure they last longer and perform better over time. Many of these securing methods can be found at local hardware stores where you can also discover additional supplies to enhance your setup. To further ensure safety, selecting secure storage options for your bikes can prevent theft during stops.
| Securing Method | Benefits |
|---|---|
| Ratchet Straps | Prevents bike movement |
| Frame Mounts | Keeps bikes upright |
| Wheel Chocks | Stabilizes bike wheels |
Orientation Options Explained
Understanding the various orientation options for securing your bikes during transport can make a significant difference in their stability and safety. You can choose between vertical and horizontal orientations, depending on your bike’s frame geometry and your truck bed space. Vertical positioning often saves space, allowing you to fit multiple bikes without them bumping into each other. However, horizontal orientation can provide more stability, especially during high-speed travel. To secure your bikes, use ratchet straps wrapped around the frame, ensuring they won’t shift or make contact with the truck bed. Remember to adjust the straps tightly, as this will help keep everything in place while you’re on the road. Choose the orientation that best suits your needs for a smooth ride.
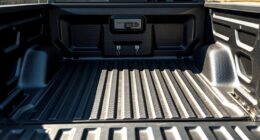
Customization Options for Different Truck Beds
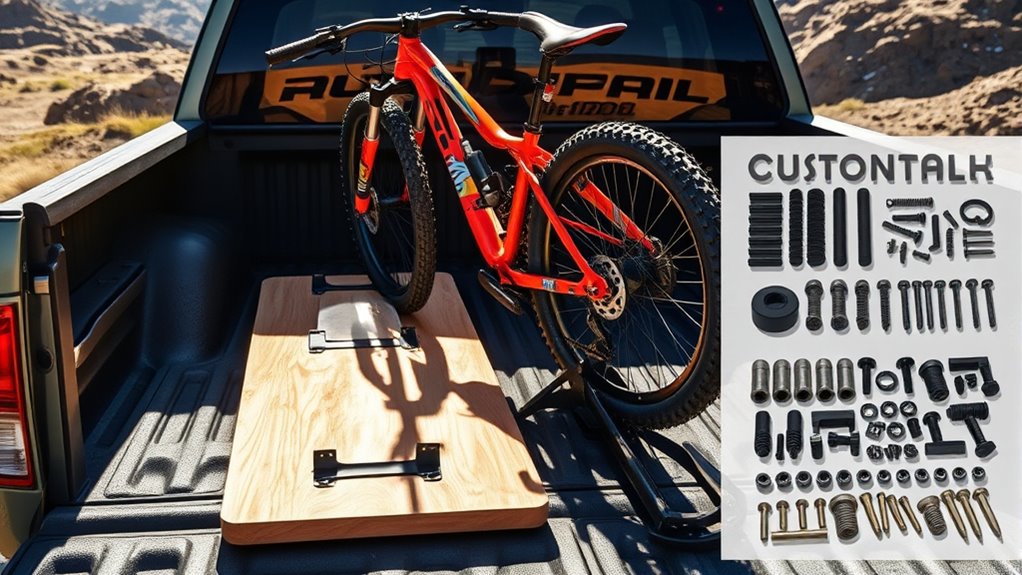
While customizing a truck bed bike mount, consider the specific dimensions and design of your truck to guarantee a perfect fit. Measure your truck bed’s length, width, and height before selecting materials. PVC pipes are lightweight and easy to cut, making them ideal for adjustments. You can modify the height of the mount to accommodate different bike sizes or add extra support for heavier bikes. Use additional elbow joints and tees to create a custom frame that suits your needs. If your truck has a unique shape, don’t hesitate to get creative with angles and fittings. Finally, ensure that your mounting system securely holds the bikes in place while allowing for easy loading and unloading.
Cost Comparison: DIY vs. Commercial Racks
Customizing your truck bed bike mount not only guarantees a perfect fit but also impacts your overall costs. Building a DIY rack from PVC pipes can cost you around $25, making it an affordable option compared to commercial alternatives that range from $19.49 to over $300. While the DIY approach allows for personalization, commercial racks often provide enhanced security and durability. However, you’ll need tools, time, and some basic skills for your DIY project. If you’re looking for quick and easy solutions, commercial options eliminate construction time but at a higher price. Ultimately, it’s about balancing your budget with the features and flexibility you need for transporting your bikes.
Tips for Maintaining Your DIY Bike Rack
To keep your DIY bike rack in top shape, regular maintenance is essential. Start by inspecting the PVC pipes and joints for any cracks or wear. If you notice any damage, replace the affected parts promptly. Clean the surface with mild soap and water to prevent dirt buildup, guaranteeing smooth operation. Check your ratchet straps regularly for signs of fraying or wear; replace them if necessary to secure your bike safely. When not in use, store the rack in a dry place to avoid moisture-related issues. Finally, consider reapplying PVC adhesive if joints become loose over time. With these simple tips, you can ensure your DIY bike rack remains functional and reliable for every ride.
Frequently Asked Questions
How Much Weight Can a DIY PVC Bike Rack Support?
A DIY PVC bike rack can typically support around 150 to 200 pounds, depending on the design and materials used. When you construct the rack, make certain you use sturdy joints and properly sized pipes to enhance stability. If you’re planning to carry multiple bikes, consider distributing the weight evenly to prevent stress on any single point. With the right setup, your rack can handle the weight of several bikes securely during transport.
Can I Use Different Pipe Sizes for My Bike Rack?
Yes, you can use different pipe sizes for your bike rack, but it’s important to guarantee compatibility for stability and strength. Mixing sizes might require additional fittings or adjustments, which could complicate your assembly. Stick to a consistent size for the main structure to maintain support. If you decide to mix, test the strength and stability before securing everything permanently to ensure your bikes are safely mounted during transport.
What Tools Are Essential for Building a PVC Bike Rack?
Imagine transforming a pile of PVC pipes into a sturdy bike rack, much like a sculptor chiseling a masterpiece. To build your PVC bike rack, you’ll need a chop saw for precise cuts, a rubber mallet to fit those connectors snugly, and PVC glue to bond everything securely. A measuring tape ensures accurate dimensions, while a marker helps you mark your cuts. Gather these tools, and you’re prepared to create your own custom bike rack!
How Do I Transport My Bike Rack When Not in Use?
To transport your bike rack when it’s not in use, simply disassemble it. Start by removing the vertical and horizontal PVC pipes from the connectors. Store the pieces in a durable bag or container, keeping everything organized. You can hang lightweight PVC sections on hooks in your garage for easy access. If needed, use a larger storage bin for transport, ensuring it fits snugly in your vehicle’s trunk or backseat.
Are There Any Safety Considerations for Using a DIY Bike Rack?
Yes, there are safety considerations for using a DIY bike rack. Make certain your rack is securely fastened to your truck bed to prevent wobbling during transit. Use ratchet straps to firmly secure bikes, avoiding any movement that could cause damage. Double-check for sharp edges on PVC pipes that could cause injuries. Finally, regularly inspect your rack for wear and tear to maintain its structural integrity and keep your bikes safe on the road.
Conclusion
Now that you’ve got the know-how to build your own truck bed bike mount, it’s time to hit the road like it’s the golden age of cruising. With just a trip to your local hardware store, you can customize a rack that suits your ride perfectly. Plus, you’ll save some cash compared to commercial options, leaving more for gas and good times. So grab your tools and start crafting—adventure awaits!