To add tie-down points exactly where you need them, start by inspecting your surface for levelness and identifying any obstructions or utilities. Mark precise locations with a tape measure, ensuring they’re clear of interference. Choose the right anchors suited for your surface, like screw-in or bolt anchors, and drill carefully to the specified depth. Secure straps tightly and check alignment. Continuing will guide you through detailed steps to guarantee strong, reliable tie-downs in the perfect spots.
Key Takeaways
- Identify precise locations using measuring tools, ensuring they avoid obstructions and underground utilities.
- Mark anchor points clearly with a permanent marker based on load and surface considerations.
- Choose appropriate anchors matching surface material and load requirements, and drill pilot holes accurately.
- Secure anchors firmly at marked spots, maintaining straightness and proper depth for maximum strength.
- Install tie-down hardware and straps, tightening to eliminate slack and ensure secure, precise attachment.

AUGO Heavy Duty Soft Loops –Pack of 6-1.5” x 17” Tie Down Anchor Straps for Use w/Ratchet Strap Hooks – 3000Lb Load Capacity & 10,000Lb Break Strength – Great for Motorcycle, Bike, Roof Rack, Etc.
HEAVY DUTY SOFT LOOP KIT – Pack of [6] Extra Strong Soft Loops Provides Reliable, Durable, Long-Lasting Performance…
As an affiliate, we earn on qualifying purchases.
As an affiliate, we earn on qualifying purchases.
Assess the Surface and Site Conditions

Before installing tie-down points, you need to assess the surface and site conditions thoroughly. Start by checking if the area is level, which is vital for anchor effectiveness and safety. Use a level or straightedge to verify this, and note any uneven spots that may require leveling or reinforcement. Next, identify and mark underground utilities like electric, gas, water, or communication lines to prevent damage or accidents during installation. Confirm the soil type—clay, sand, or gravel—as it influences the choice of anchors and their strength. Also, evaluate the surface material—concrete, soil, or wood—to determine appropriate attachment methods. Proper assessment ensures your tie-down system will be secure, durable, and compliant with safety standards. Incorporating attention to detail during this process helps identify potential issues early, ensuring a safe and effective installation.
concrete anchor bolt kit
As an affiliate, we earn on qualifying purchases.
As an affiliate, we earn on qualifying purchases.
Identify and Mark Precise Anchor Locations
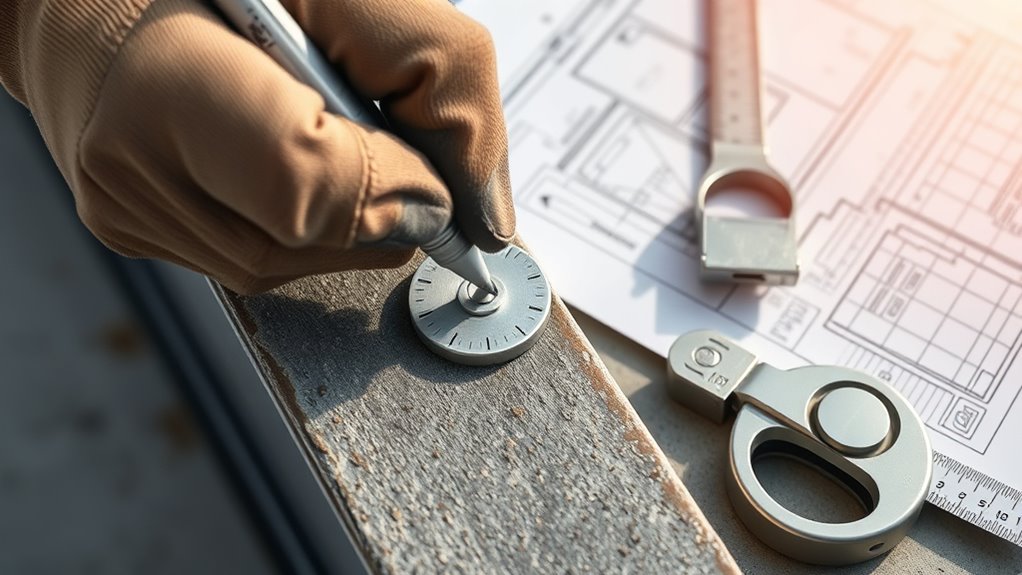
To guarantee a secure and effective tie-down system, you need to identify and mark the exact locations for your anchors. Use a tape measure and a permanent marker to determine precise spots based on your load’s weight and distribution. Ensure the locations won’t interfere with windows, doors, or access points. Take into account the surface’s levelness, avoiding uneven or weak areas. Double-check that your chosen points are clear of underground utilities by consulting local maps or contacting utility companies. Mark each spot clearly, and verify measurements before drilling or driving anchors. Accurate marking helps ensure proper alignment, stability, and safety, preventing future issues caused by misplaced anchors or inconsistent tension. Additionally, understanding the science behind anchoring techniques can improve the overall safety and durability of your tie-down system.

Kayak Straps Tie Downs 8 Pack Set, Roof Rack Straps Adjustable Ratchet Tie Down Straps with Lock S Hooks, 1/4 Inch 12 Feet Ratchet Straps for Small Cargo, Kayak-Soft Loops, Packing, Camping Gear
Easy to Use: The 1/4" retractable ratchet straps heavy duty tightening and releasing is quick and easy, and…
As an affiliate, we earn on qualifying purchases.
As an affiliate, we earn on qualifying purchases.
Choose the Appropriate Anchor Types for Your Environment

To choose the right anchors, you need to take into account your soil type, structural options, and environmental conditions. Different environments demand specific anchor types to ensure safety and strength. Making the correct choice now will keep your tie-down points secure and reliable over time. Incorporating connected equipment and understanding your home environment can help in selecting anchors that support your overall wellness and fitness goals.
Soil Compatibility
Choosing the right anchor type depends on your soil conditions because different soils offer varying levels of holding power. To guarantee secure tie-downs, assess your soil and select anchors accordingly. Incorporating innovative European cloud solutions can also enhance the management and monitoring of your anchoring systems for improved safety and efficiency. Consider these options:
- Clay or Loam: Use screw-in or plate anchors with deep threads for high holding capacity.
- Sand or Gravel: Opt for driven or helical anchors that can penetrate loose or shifting soil.
- Frozen or Compact Soil: Use driven anchors or concrete anchors, which perform well in dense, frozen ground.
Structural Anchor Options
Selecting the right structural anchors depends on your environment and the specific load requirements. You need to match anchor types to the surface and expected forces. For soil, use ground anchors like augers or driven spikes. For concrete or wood, choose sleeve anchors, wedge anchors, or lag bolts. Metal beams may require strap loops or beam clamps. Consider lateral and vertical loads and install anchors at proper angles. Using the correct anchors guarantees safety and stability. Additionally, understanding the horsepower of electric dirt bikes can help determine the appropriate anchor strength for securing equipment or accessories mounted on or near these vehicles.
Environmental Conditions
Understanding your environment is essential for choosing the right tie-down anchors. Different conditions demand specific anchor types to guarantee safety and durability. First, assess the surface material: soft soil requires driven or auger anchors, while concrete surfaces need bolt-in or concrete anchors. Second, consider moisture levels and corrosion risk; in humid or salty environments, opt for galvanized or stainless steel anchors to prevent rust. Third, evaluate potential load movement or shifting; loose soil or unstable structures benefit from anchors with higher holding capacity, such as screw-in or ground rod anchors. Additionally, considering the material properties of your environment can help determine the most suitable anchors, ensuring long-term performance. By matching anchor types to these environmental factors, you guarantee your tie-down system remains secure and reliable, no matter the conditions. Proper selection protects your assets and maintains safety over time.

Phopich Ground Anchor Screw in, 4 Pack Spiral Trampoline Anchors with Nut and Tool Swing Set Anchors Tent Stakes High Wind Heavy Duty for Sheds, Carports, Mobile Home Orange
Full Spiral Blade Anchors: Upgrade Version full spiral blade design make easier to drill into the ground, 2.21mm/0.087in…
As an affiliate, we earn on qualifying purchases.
As an affiliate, we earn on qualifying purchases.
Measure and Plan for Optimal Anchor Placement

You need to measure carefully and plan your anchor placement to guarantee maximum stability. Use precise tools like tape measures and markers to identify the best spots, considering load distribution and structural access. Thoughtful placement helps prevent issues and keeps your tie-down system secure and effective. Ensuring your setup uses reliable infrastructure is key to maintaining a safe and durable connection.
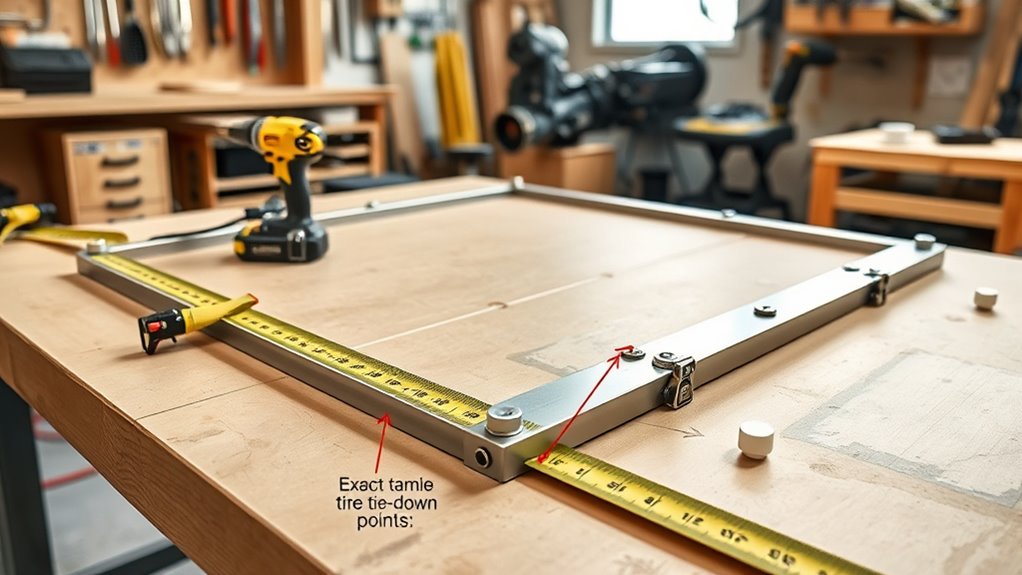
Precise Measurement Techniques
Accurate measurement is essential to guarantee that tie-down anchors are placed in the most effective positions. Precise planning ensures ideal load support and structural integrity. To achieve this, follow these steps:
- Use a high-quality tape measure and a square to mark exact locations, ensuring consistency across all points.
- Confirm measurements from fixed reference points, such as walls or structural elements, to maintain alignment.
- Double-check each measurement before drilling or installing, verifying distances and angles to prevent errors.
- Understanding the importance of structural integrity helps ensure that the load is evenly distributed and that the attachment points can support the intended weight.
Strategic Placement Considerations
Effective placement of tie-down anchors begins with thorough measurement and planning. You’ll want to identify load points, ensuring anchors are positioned where they can handle the forces involved. Use tape measures and markers to mark exact locations, avoiding obstructions like windows or vents. Consider the angle of pull—anchors should be placed at a minimum of 40°, or slightly more, for ideal support. For structural stability, position anchors behind walls or skirting to protect against lateral movement. Always verify surface levelness and soil type or structural integrity before marking. Planning for proper spacing ensures even load distribution, reducing stress on individual anchors. By measuring carefully and visualizing load paths, you guarantee your tie-down system is both secure and compliant. Additionally, understanding the load capacity of your anchors helps prevent overloading and potential failure.
Prepare the Installation Area and Pre-Install Stabilization Components
Preparing the installation area thoroughly is essential to guarantee a safe and secure tie-down system. First, clear the space of debris, obstructions, and loose materials to ensure a solid working surface. Second, verify the surface’s levelness to prevent uneven load distribution and potential failure. Third, pre-install stabilization components such as plates or collars to reinforce anchor points and prevent lateral movement. These steps help establish a stable foundation before drilling or driving anchors. Additionally, check for any existing damage or weaknesses in the surface that could compromise the installation. It is also beneficial to consider modern safety standards to ensure your setup meets current requirements. By preparing carefully, you ensure that your tie-down points will hold securely, maximizing safety and durability over time. Proper preparation minimizes future adjustments and maintains the integrity of your tie-down system.
Drill or Drive Anchors to Proper Depth and Alignment
To guarantee your anchors hold securely, you need to mark their placement precisely before drilling or driving. Using the correct technique for your chosen anchors helps prevent misalignment and incomplete seating. Finally, make sure each anchor reaches the proper depth to provide maximum strength and safety.
Mark Anchor Placement Precisely
Accurately marking the placement of anchors is essential to guarantee proper installation and maximum holding strength. Precise markings ensure anchors sit correctly, preventing misalignment and reducing the risk of failure. To do this effectively:
- Use a tape measure and a level to measure and mark exact locations based on your planned layout.
- Employ a permanent marker to clearly indicate drill points, verifying measurements from multiple reference points.
- Double-check each mark’s position for proper spacing, angle, and alignment, especially when working on angled or structural surfaces.
Taking these steps guarantees your anchors will be placed exactly where needed, ensuring ideal load distribution and long-term stability. Proper marking saves time and prevents costly repositioning later.
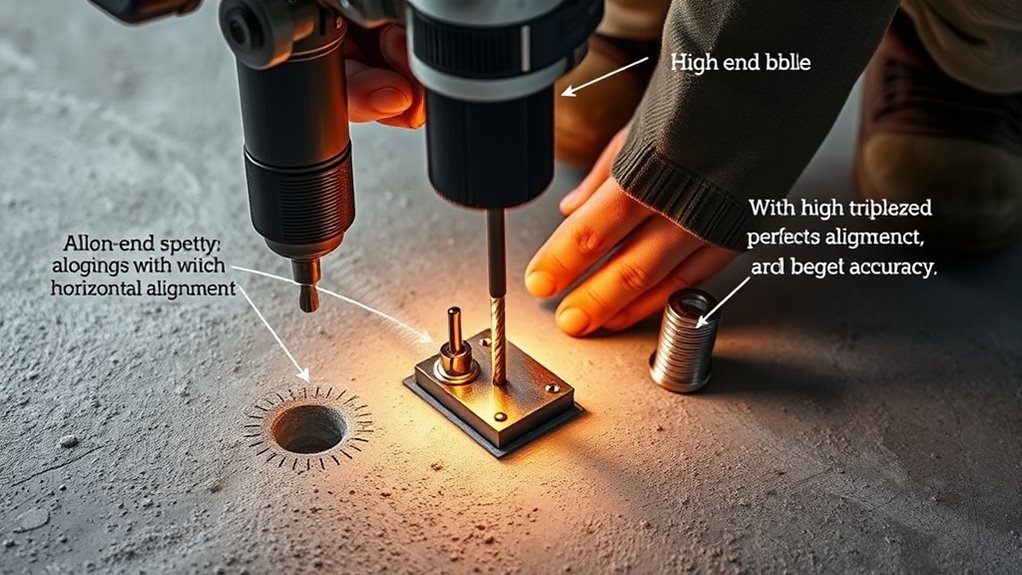
Use Correct Drilling Technique
Ensuring proper depth and alignment when drilling or driving anchors is essential for their strength and safety. First, select the correct drill bit or drive tool based on the anchor type and material. Keep the drill perpendicular to the surface to maintain straight holes, preventing misalignment that can weaken the connection. When drilling into concrete or steel, apply steady pressure and avoid forcing the bit, allowing it to do the work. For ground anchors, ensure you drill to the manufacturer’s specified depth, using a depth stop or tape as a guide. Consistently check that the hole is straight, clean out debris, and verify the depth before inserting anchors. Proper technique guarantees maximum holding capacity and reduces the risk of failure over time.
Ensure Proper Depth Alignment
Proper depth alignment is essential for the strength and safety of your tie-down anchors. To achieve this, you must guarantee anchors are driven or drilled to the correct depth and remain straight. Here’s how:
- Verify the recommended depth from the manufacturer, and mark the proper depth on your drill bit or driver.
- Use a level or alignment tool to keep anchors straight during installation, preventing tilting that weakens hold.
- Fully seat anchors to the specified depth, ensuring the tension head is flush with the surface or slightly below, avoiding exposure that could cause damage.
Proper depth and alignment maximize load capacity and reduce the risk of failure, ensuring your tie-down points are secure and reliable.
Secure Straps and Connectors Properly for Maximum Strength

To achieve maximum holding strength, you need to secure straps and connectors tightly and correctly. Start by wrapping the straps fully around the structural beam or anchor, ensuring no slack remains. Use tensioning bolts or slots to tighten straps securely—turn them 4-5 full turns to eliminate looseness. For ground anchors, make sure the tension head is flush with the surface and the anchor shaft pulls snugly against stabilizer plates or concrete collars. When attaching connectors like swivel hooks, tighten grade 5 bolts and nuts firmly to prevent pivoting or slipping. Always double-check that straps are tight without over-stressing the anchors. Proper tension ensures the system resists movement, providing maximum strength and safety for your tie-down points.
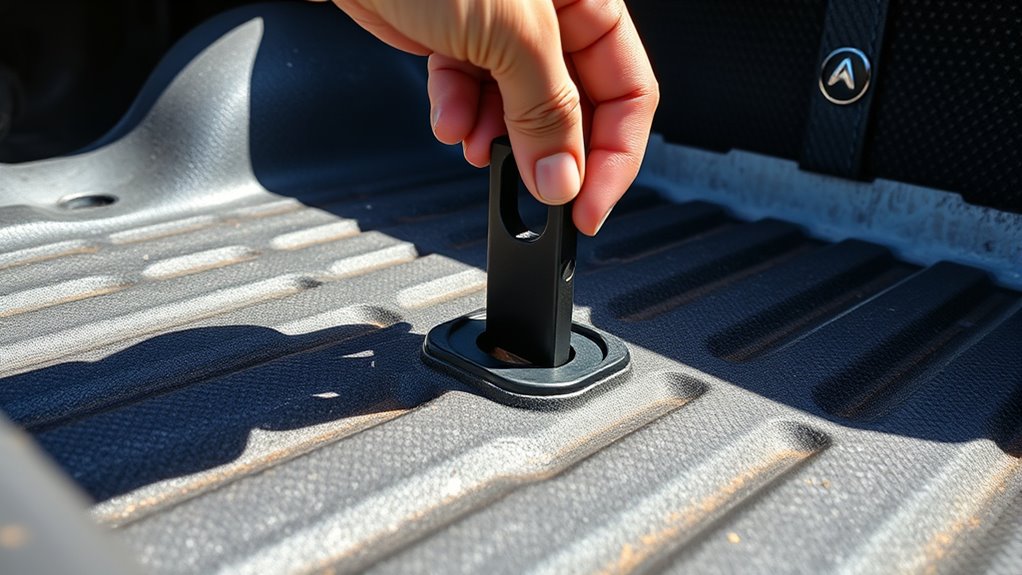
Install Tie-Down Points on Vehicles and Trailers With Precision
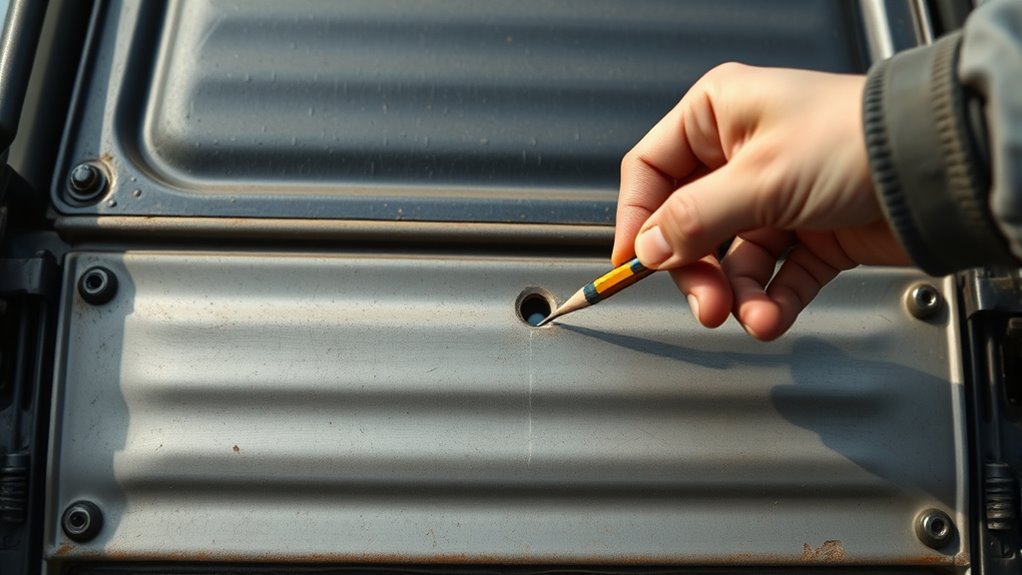
Accurately installing tie-down points on vehicles and trailers starts with precise measurement and marking. You need to guarantee each point is positioned correctly to maximize load security and safety. Follow these steps:
- Use a tape measure and permanent marker to mark exact locations based on load requirements.
- Drill pilot holes with the appropriate size bits to prevent material cracking or deformation.
- Secure anchors with bolt plates underneath, tightening nuts firmly with wrenches to prevent movement.
Use the Right Tools and Materials for Accurate Installation

Using the right tools and materials is essential for guaranteeing precise and secure tie-down installations. With the proper equipment, you can accurately mark, drill, and tighten anchors, preventing mistakes and ensuring safety. A cordless drill with suitable bits makes hole placement effortless, while tape measures and markers ensure accuracy during layout. Wrenches and screwdrivers securely tighten bolts and straps, avoiding slack or misalignment. Select straps compatible with your anchors and tension bolts designed for firm wraps. Safety devices like bolt collars and stabilization plates protect your structure and improve hold strength.
| Tool/Material | Purpose |
|---|---|
| Cordless drill | Precise drilling in metal or soil |
| Tape measure/Markers | Accurate placement and measurement |
| Wrenches/Screwdrivers | Secure fastening and tensioning |
Maintain and Inspect Tie-Down Points for Safety and Durability

Regularly inspecting your tie-down points helps guarantee they stay secure and safe over time. You should check for signs of wear, corrosion, or looseness that could compromise their strength. To maintain ideal safety and durability, focus on these three key steps:
Regularly inspect tie-down points for wear, corrosion, and looseness to ensure long-term safety and reliability.
- Examine anchors and straps for damage, replacing any frayed, cracked, or corroded components immediately.
- Tighten all bolts and tensioning hardware to ensure no looseness develops, especially after severe weather or heavy use.
- Verify proper angles and positioning, making sure straps aren’t overstressed beyond recommended limits and that anchors remain firmly embedded.
Consistent maintenance prevents failures and extends the lifespan of your tie-down system, ensuring your loads stay secure and your structure remains safe.
Frequently Asked Questions
How Do I Determine the Correct Number of Tie-Down Points Needed?
You determine the correct number of tie-down points by consulting local wind zone charts or codes, which specify minimum requirements for safety. Assess your load’s weight and distribution, and plan for enough anchors to evenly secure it. Consider the surface type and potential lateral forces. Use measurement tools to mark precise locations, ensuring anchors are spaced appropriately and do not impede access or structural elements.
What Safety Precautions Should I Follow During Installation?
You should always confirm the surface is level and check for underground utilities before installing. Wear protective gear to prevent injuries and damage, and adhere to local wind zone codes for safety compliance. Use appropriate tools and materials carefully, ensuring anchors are driven or secured properly. Regularly inspect your tie-downs for wear or corrosion, and avoid exceeding recommended angles to maintain safety and effectiveness throughout their lifespan.
Can I Install Tie-Down Points on Uneven or Sloped Surfaces?
Yes, you can install tie-down points on uneven or sloped surfaces. First, guarantee the surface is stable and secure. Use appropriate anchors designed for slope or irregular terrain, like adjustable or specialized ground anchors. Pre-drill holes carefully, and level the anchor plates or stabilization devices as much as possible. Secure straps tightly, avoiding angles beyond recommended limits, and regularly inspect the system for stability and safety.
How Often Should I Inspect and Maintain the Tie-Down System?
You should inspect and maintain your tie-down system at least every three to six months. Regularly check for signs of wear, corrosion, or looseness to guarantee safety and stability. After severe weather or heavy loads, perform additional inspections. Always tighten straps and replace damaged components promptly. Maintaining a consistent schedule helps prevent failures, prolongs system life, and ensures your load remains secure during transport or storage.
What Are the Best Practices for Securing Different Types of Loads?
You should secure different loads by selecting appropriate anchors for the weight and type, ensuring straps are tight and properly routed at recommended angles, usually around 40° to 60°. Use full loops around structural beams or vehicle anchors, and tighten tension bolts securely. Regularly inspect straps and anchors for wear or damage, and adjust tension as needed to prevent shifting or slipping, keeping your load safe during transport.
Conclusion
As you step back, you’ll notice your carefully installed tie-down points seamlessly blend into your setup, like anchors in a well-placed mural. With precise planning and proper tools, you’ve created a secure foundation that keeps your gear safe. Every strap connects smoothly, ensuring maximum strength. When you inspect these points later, you’ll see how your attention to detail prevents mishaps—making your workspace safer and more reliable, just as you envisioned from the start.