
For effective DIY touch-up paint on scratched truck beds, start by fully removing rust and thoroughly cleaning the area. Use multiple thin coats of paint and apply a primer to enhance adhesion, especially in deep scratches. Finish with several clear coats for added protection against scratches and UV damage. Remember to use appropriate tools and materials for best results. If you’re facing challenges or need specialized tips, there’s more to explore!
Key Takeaways
- Thoroughly remove rust and clean the area with wax and grease remover to ensure proper paint adhesion before touching up scratches.
- Use multiple thin coats of touch-up paint instead of one thick coat to prevent runs and uneven coverage on the truck bed.
- Apply a heavy rust-preventive primer for durability, especially in bed liner areas, to protect against corrosion and ensure adhesion.
- Finish with several thin coats of clear coat to protect the base paint and enhance gloss, extending the life of the repair.
- Regularly maintain and clean the touched-up area to prolong the effectiveness of the paint and clear coat, safeguarding against damage.

HERCULINER HCL1B8 Roll-on Bed Liner Kit,Black, 1 Gal.
J-B Weld Herculiner Truck Bed Liner: Is The Original Do-It-Yourself Truck Bed Liner. Just 3 Easy Steps: Prep,…
As an affiliate, we earn on qualifying purchases.
As an affiliate, we earn on qualifying purchases.
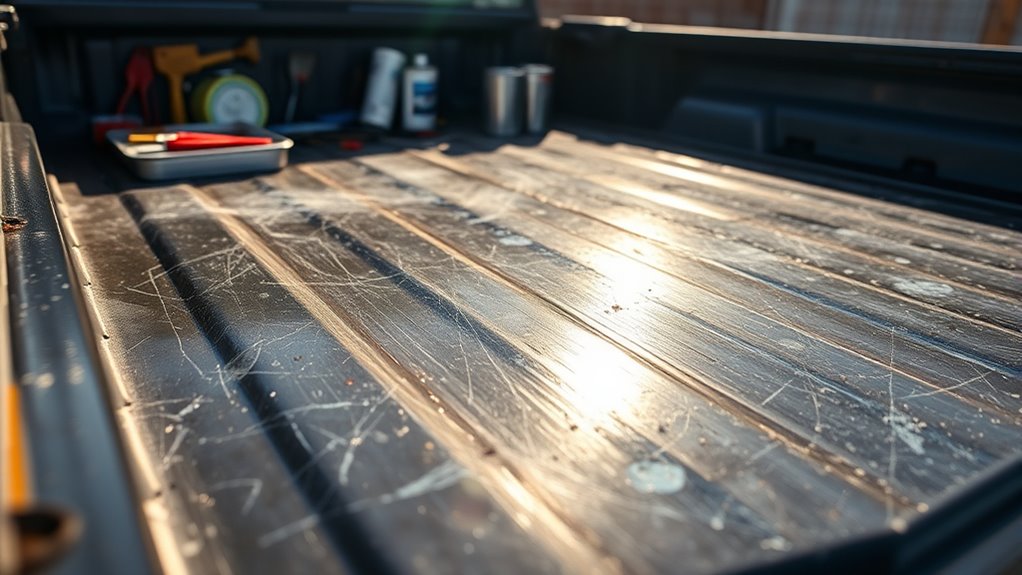
Understanding Surface Preparation for Touch-Up Paint
When preparing a surface for touch-up paint, you must guarantee that it’s clean and free of any imperfections. Start by removing any rust completely using 220 grit sandpaper or a wire brush, as this prevents further corrosion. Next, thoroughly clean the area with a wax and grease remover to ensure that the paint adheres properly. For scratches or chips, sand the affected area smooth with 600 to 2000 grit sandpaper, depending on the depth. If you see exposed bare metal or plastic, apply a primer to prevent rust and enhance paint bonding. Additionally, ensuring the right color accuracy in your touch-up paint selection can significantly improve the final appearance. A well-prepared surface can enhance image quality and durability, much like in deep-sky imaging. Proper ventilation is also vital when applying paint in order to avoid buildup of harmful fumes. Moreover, sizing and load-planning tools can be just as important for assessing your painting needs as they are for ensuring reliable power in a household. Finally, allow the primer and any subsequent layers to dry thoroughly, which can take anywhere from 20 minutes to overnight, before moving on to the application process. Additionally, proper surface preparation is crucial for achieving a long-lasting finish that withstands the test of time.
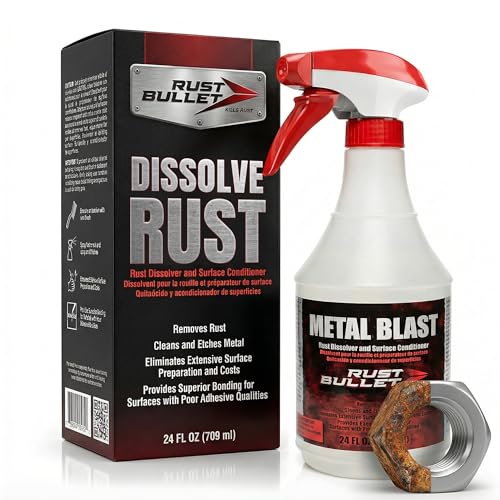
RUST BULLET Metal Blast – 24 Oz – Rust Remover & Metal Prep, Cleaner & Conditioner for Superior Adhesion, Eliminates Grease, Contaminants & Corrosion
EASY TO USE – Spray on, Rinse or Wipe off
As an affiliate, we earn on qualifying purchases.
As an affiliate, we earn on qualifying purchases.
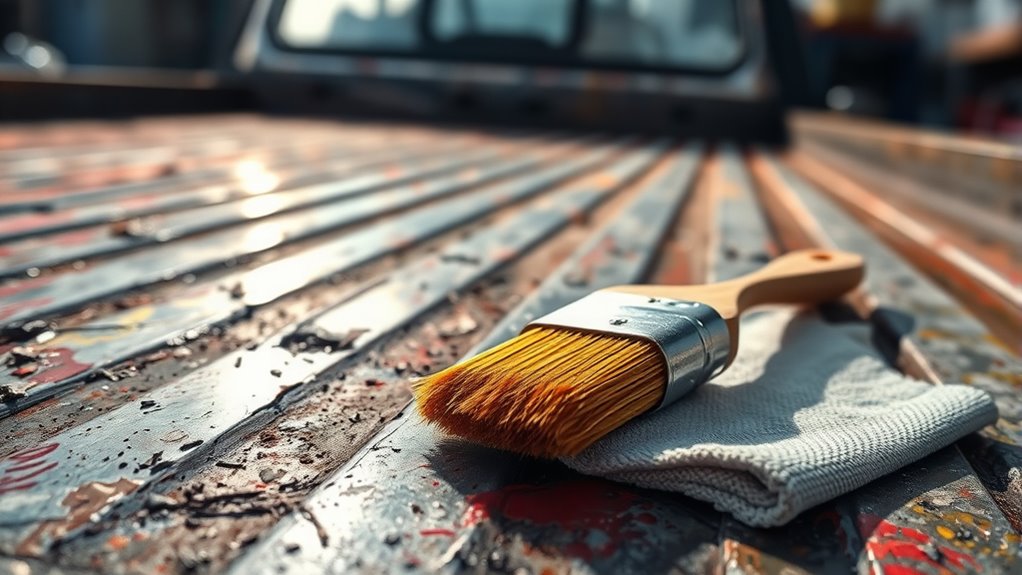
Effective Paint Application Techniques

With the surface now properly prepared, the next step is applying the touch-up paint effectively. Use multiple thin coats of base color paint instead of one thick coat to achieve a smooth finish and avoid runs. For deep scratches, apply a thin layer of primer directly into the scratch before adding base paint. You can use paint pens, brush bottles, or spray cans for application—choose what feels most comfortable for you. To blend the paint, slightly raise it above the surface and sand it smooth later with fine grit sandpaper (1500-2000 grit). This technique helps guarantee your touch-up looks seamless and matches your truck bed’s original finish. Additionally, ensure you select the right yarn weight to achieve the desired thickness when working with different paint types. Proper preparation, including safe operating procedures, is essential to avoid damaging the surrounding areas during the touch-up process. Implementing energy-efficient techniques can also help in maintaining a sustainable environment while working on your truck bed. Furthermore, using the right glycolic acid concentration during surface preparation can enhance the adhesion of the paint. Notably, achieving a seamless finish is similar to how personal branding can lead to successful outcomes in various fields.

Rust-Oleum 260510 Stops Rust Automotive 2-in-1 Filler & Sandable Primer Spray, 12 oz, Gray
Filler and sandable primer is suitable for use on wood, metal and fiberglass surfaces
As an affiliate, we earn on qualifying purchases.
As an affiliate, we earn on qualifying purchases.
Importance of Clear Coat Application

Applying a clear coat is essential because it protects your base paint layer from scratches and fading. It also enhances the gloss and durability of your finish, giving your touch-up a professional look. Don’t skip this step if you want your work to last and shine! Additionally, using smart appliances can improve your project efficiency by automating certain tasks, ensuring a more precise application. A clear coat can also help shield your paint from environmental factors that can cause deterioration over time. Furthermore, incorporating compassionate caregiving principles into your project can help create a supportive environment, making the task feel more rewarding and enjoyable. Using light therapy can also promote a more relaxed state of mind, making it easier to focus on your touch-up project. Moreover, utilizing smart home technology can enhance your overall DIY experience by providing tools that assist in monitoring and optimizing your workspace.
Protects Base Paint Layer
While you may focus on achieving a flawless base paint layer, it’s the clear coat that truly protects your hard work. Without this essential layer, your paint job is vulnerable to scratches, UV damage, and environmental elements. The clear coat acts as a shield, ensuring that your base paint remains intact and vibrant over time. It’s imperative to apply several thin coats of clear coat for maximum protection, allowing each layer to dry properly before adding the next. This method not only enhances durability but also prevents peeling or lifting. By prioritizing the clear coat, you’re investing in the longevity and appearance of your truck bed, keeping it looking sharp and well-maintained for years to come. Additionally, applying a protective layer can help to keep your vehicle’s surface safe from robotic cleaning solutions that may inadvertently cause damage. Remember, proper maintenance techniques can further extend the life of your clear coat, ensuring your vehicle looks its best. Furthermore, informal language often reflects the creativity and adaptability of communities, just as your truck bed can adapt to its environment with the right protection. Incorporating a source of vitamins like butter in your diet can also contribute to overall health, which is beneficial for maintaining your vehicle’s condition as well. Investing in a Gold IRA can also provide you with a secure financial future, allowing you to enjoy your truck without financial stress.
Enhances Gloss and Durability
To achieve a professional finish on your truck bed, the clear coat isn’t just an afterthought; it’s essential for enhancing both gloss and durability. After applying your base color, let it dry completely before reaching for the clear coat. Applying several thin layers of clear coat helps you avoid runs and ensures even coverage. Remember to let each coat dry for about 10-20 minutes. When you float the clear coat over the base without pressure, you protect the paint underneath from peeling. Additionally, this method allows you to tap into your inner wisdom about the best practices for maintaining your truck. Routine maintenance can further extend the life of your truck bed’s finish. It’s also beneficial to consider space-saving techniques when organizing your truck bed accessories to keep everything in its place. After three days, you can polish the surface to restore that glossy look. Sand lightly with ultra-fine grit sandpaper before polishing to smooth any irregularities. With a solid clear coat, your truck bed will shine and withstand the elements. Additionally, using high quality products can significantly improve the longevity and appearance of your finish. It’s crucial to keep in mind that proper piercing care can prevent damage, much like how maintenance prevents wear on your truck bed.
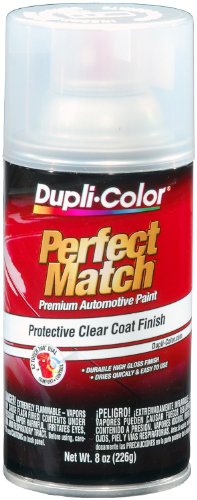
Dupli-Color EBCL01257 Clear Perfect Match Automotive Top Coat – 8 oz. Aerosol
Dupli-Color Perfect Match Premium Automotive Clear Coat is an easy-to-use, high-quality, fast-drying, acrylic lacquer aerosol paint
As an affiliate, we earn on qualifying purchases.
As an affiliate, we earn on qualifying purchases.
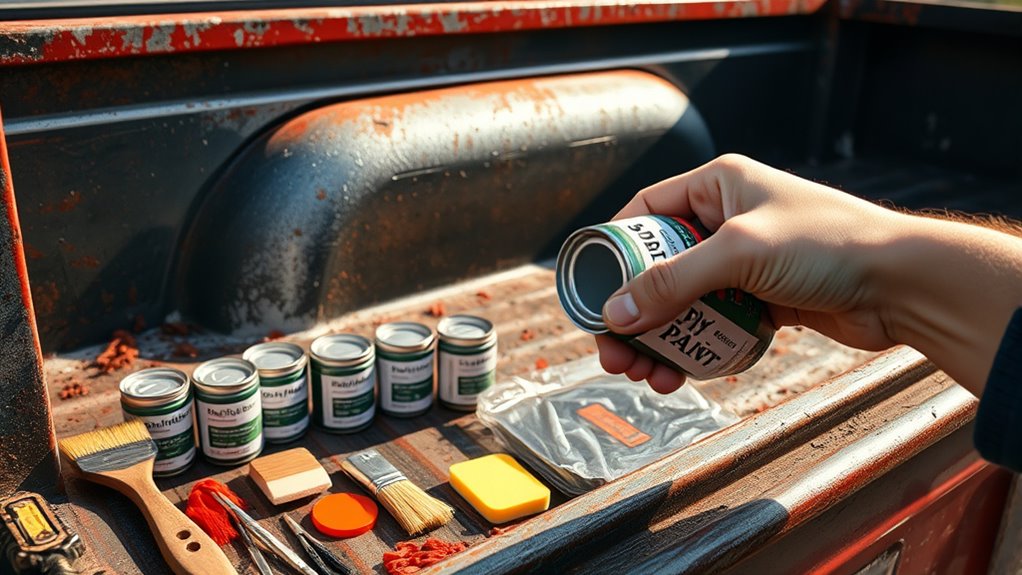
Recommended Tools and Materials for the Job
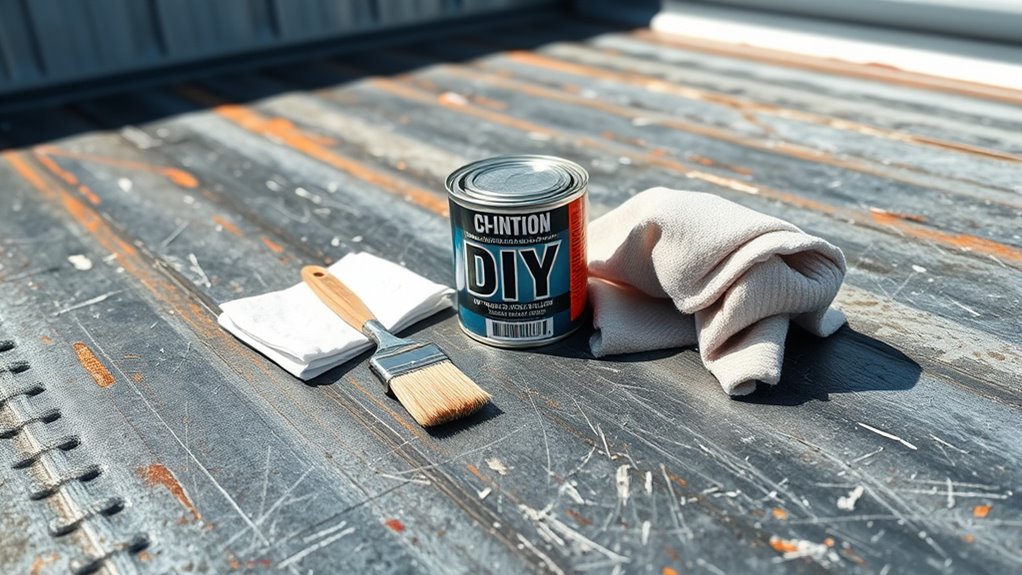
To get started on your touch-up project, you’ll need the right tools and materials at hand. Essential sandpaper grits range from 220 for rust removal to 2000 for smoothing your finish. Additionally, consider paint application tools like brushes, pens, or spray cans to guarantee a seamless repair. Using a Graco FFLP Fine Finish Low Pressure Reversible Tip can significantly improve your paint application quality and reduce overspray for a professional finish.
Essential Sandpaper Grits
When prepping surfaces for touch-up paint, selecting the right sandpaper grits is essential to achieving a smooth finish. Start with 220 grit sandpaper to remove any rust, ensuring you get a clean surface. For scratches or chips, use 600 grit to 2000 grit sandpaper depending on the scratch’s depth; finer grits help smooth the area for better paint adhesion. After sanding, clean the surface thoroughly with wax and grease remover. If you expose bare metal or plastic, apply a primer suitable for those materials. Remember to let everything dry completely before applying paint to prevent any issues later on. Choosing the right grits and prepping properly sets you up for a successful touch-up job.
Paint Application Tools
Choosing the right tools and materials is essential for a successful touch-up paint job on your truck. You’ll want to gather a few key items to ensure a smooth application. Here’s a handy table to help you:
| Tools/Materials | Purpose |
|---|---|
| 220 to 2000 grit sandpaper | Surface preparation and smoothing |
| Wax and grease remover | Cleaning for proper paint adhesion |
| Primer | Protects exposed metal/plastic |
| Auto paint | Matches your vehicle’s color |
| Clear coat | Provides a glossy finish |
| Rubbing/polishing compound | Restores gloss and blends repairs |
With these tools in hand, you’ll be well-equipped to tackle those scratches and keep your truck looking great!
Common Challenges and How to Overcome Them
Although touch-up painting can seem straightforward, several common challenges can arise that may hinder your success. One issue is applying paint too thickly, which leads to runs and uneven surfaces. To avoid this, use multiple thin coats instead of one heavy layer. Another challenge is achieving a perfect color match, especially with textured surfaces. Test your paint on a small area first to ensure it blends well. If you don’t fully remove rust, you risk ongoing corrosion and paint failure, so be diligent with your prep work. Finally, handle clear coat application gently to prevent peeling. By addressing these issues proactively, you can attain a smooth, durable finish on your truck bed.
Special Considerations for Truck Bed Liners
Since truck bed liners have unique textures and materials, they require specific touch-up techniques to guarantee proper adhesion and a flawless finish. To effectively touch up your truck bed liner, keep these considerations in mind:
- Primers: Use heavy rust-preventive primers like Rust Oleum to prepare the surface before painting.
- Surface Prep: Bead blasting or heavy sanding is often necessary for proper paint adhesion on bed liners.
- Paint Type: Choose touch-up paint specifically designed for bed liners, as it differs chemically and texturally from standard automotive paint.
- Protection: After repairs, consider applying a factory plastic liner over the touched-up areas for added durability and protection.
These steps will help guarantee your truck bed liner looks its best after touch-ups.
Frequently Asked Questions
How Do I Know if My Truck Bed Needs Touch-Up Paint?
You’ll know your truck bed needs touch-up paint if you spot scratches, chips, or rust. Regularly inspect for any signs of wear, especially after hauling heavy loads. If the surface feels rough or shows bare metal, it’s time to act. Pay attention to areas where moisture might accumulate, as these can lead to rust. Catching these issues early can save you from more extensive repairs later on.
Can I Use Regular Automotive Paint on a Truck Bed Liner?
You’ve decided to touch up your truck bed after a weekend adventure, but can you use regular automotive paint on the truck bed liner? The short answer is no; they often don’t bond well together. For instance, if you try using standard paint on a textured bed liner, it might peel or wear off quickly. Instead, look for specialized paint designed for truck bed liners to ensure better adhesion and durability.
What Is the Best Weather Condition for Touch-Up Painting?
The best weather condition for touch-up painting is mild and dry. Aim for temperatures between 50°F and 90°F, with low humidity. Avoid painting on windy or rainy days, as these can affect paint adhesion and finish. Ideally, choose a day with no direct sunlight, as heat might cause the paint to dry too quickly. This way, you’ll achieve a smoother, more durable finish without any issues.
How Long Will the Touch-Up Paint Last on My Truck Bed?
Imagine your truck bed as a shield, bravely protecting your journeys. The touch-up paint you apply can last several years if you prep and apply it correctly. If you remove rust, clean thoroughly, and use thin coats, you’ll create a durable barrier. However, factors like exposure to the elements and wear and tear can affect longevity. With proper care, you’ll keep that shield strong, ready for any adventure ahead.
Can I Mix Different Paint Brands for Touch-Up Work?
You can mix different paint brands for touch-up work, but it’s risky. Different formulations might not bond well, leading to peeling or fading. To avoid issues, stick to the same brand whenever possible, especially for primer and clear coat. If you must mix, test a small area first to see how they react together. Ultimately, consistency in products helps guarantee a smoother finish and better durability for your repairs.
Conclusion
In the end, touching up your truck bed can feel like a formidable task, yet it’s incredibly rewarding to see those scratches vanish. While it takes effort and attention to detail, the satisfaction of a restored finish contrasts sharply with the frustration of neglecting those imperfections. By following the right techniques and using quality materials, you not only enhance your truck’s appearance but also protect its value, proving that a little care goes a long way.